If you want to use existing in game animations you will need to create your weapon mesh around one of the existing weapon skeletons. It is possible to export the skeletons from the editor by right-clicking on the SkeletalMesh (NOT the skeleton asset) in the Content Browser and selecting Asset Actions/Export.
| Exporting will create a new root bone for the hierarchy that is not used when re-importing and needs to be deleted. It is named the same as the dummy mesh and an example is bone name 'SK_AK_Dummy'. The proper root bone name for weapons is 'bn_main'. |
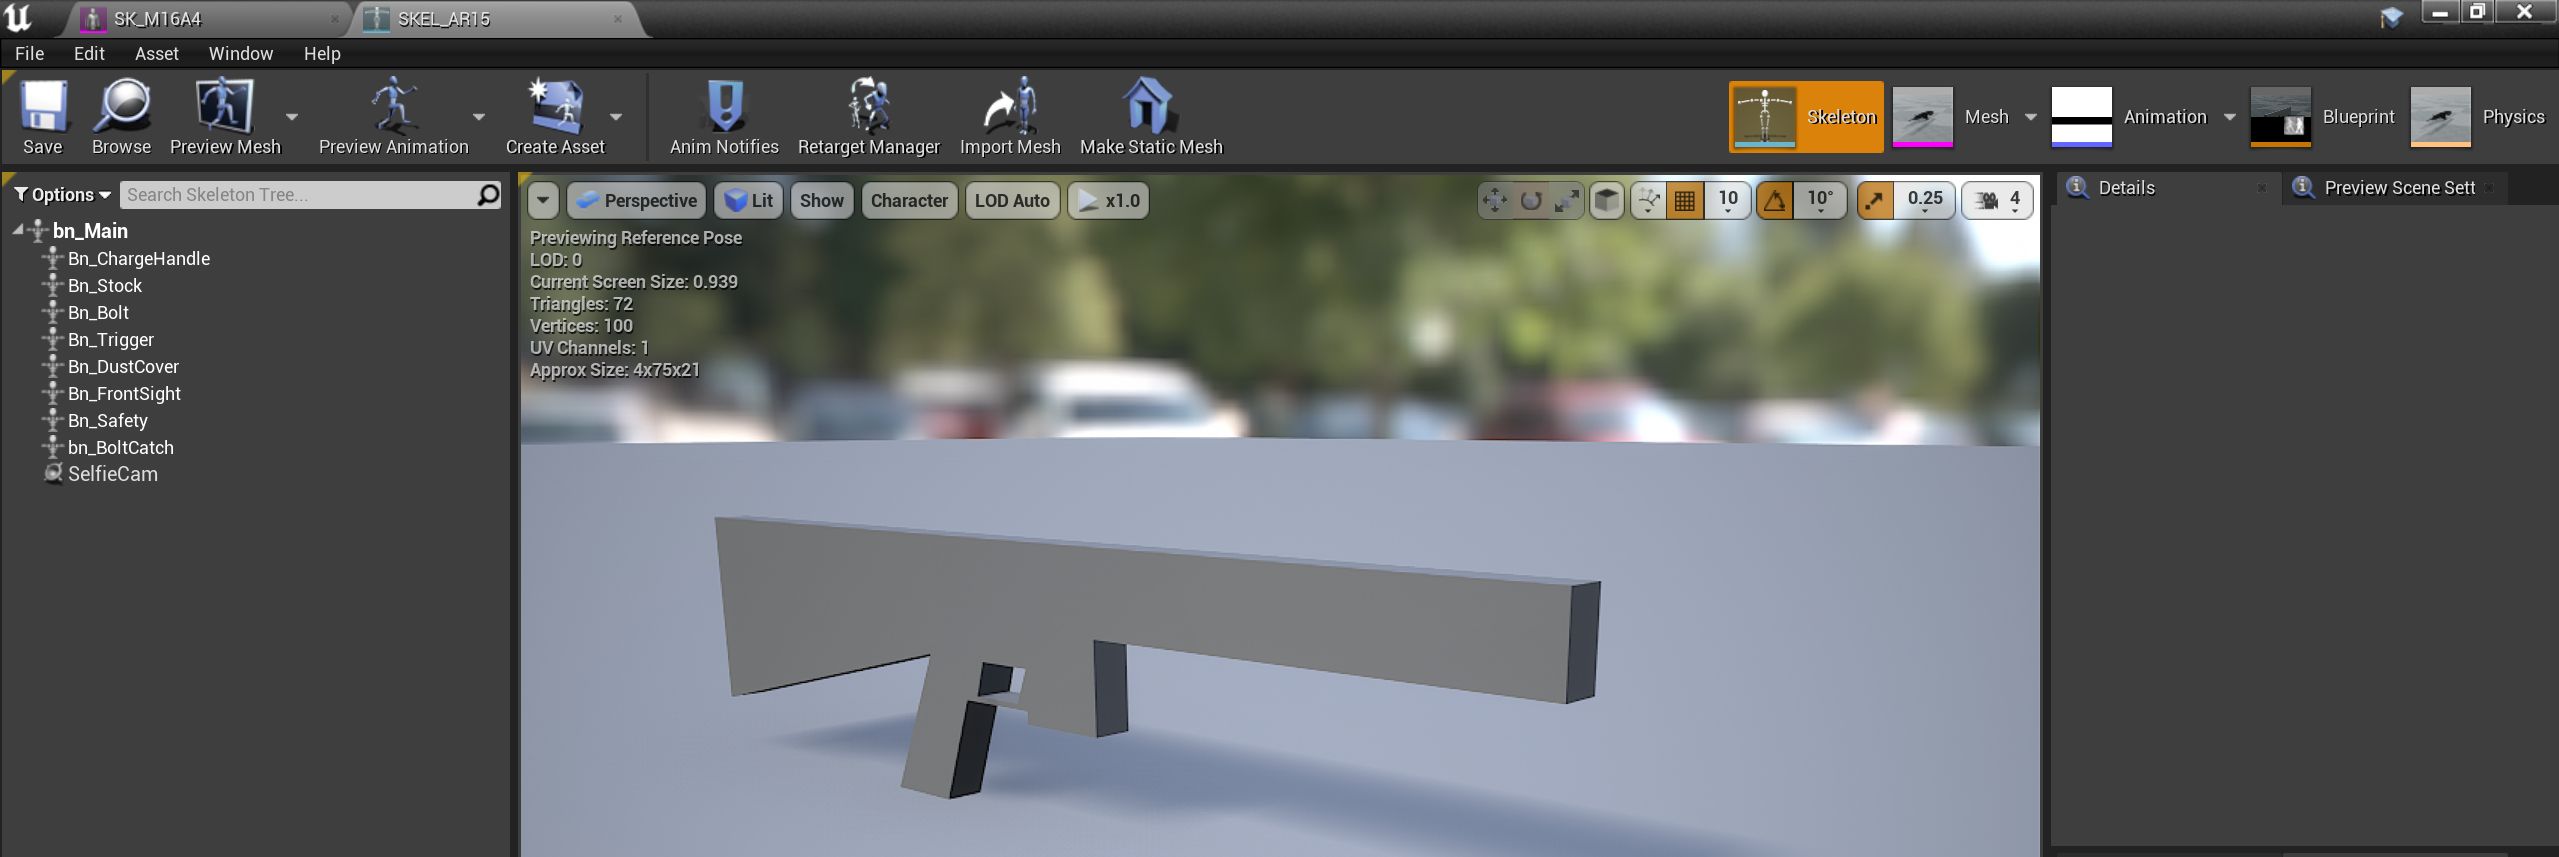
Figure 1. The in-game skeleton for the dummy AR15 master blueprint shown at left
The bone names are pretty self-explanatory as to what they are, and the mesh needs to be skinned to the skeleton. Bones can be moved (translate) but not rotated. If moving bones, do not do so a great distance, or it will probably break animations.
Not all bones need to be skinned to the mesh (It’s ok if some aren’t used), but the entire mesh needs to be skinned to at least one bone to be exported properly.
Once the blueprint is created (assuming you are using a child of an existing one) you need to move each component into place. The naming of components should be self-explanatory, but for more details, see GROUND BRANCH weapon components.
If a weapon has rail systems then you can either add one or using an existing one (preferable). In the blueprint editor, select +Add Component from the top right (big green button) and chose GBRail. You may need to type it in the search bar to find it.
| The sight needs to be separate from an RMR plate because we make small adjustments to the sight mesh with the bones in code, and we scale the RMR to zero when it’s not used. |
| See setting up a weapon skeletal mesh for more details on setting up bones and sockets and suchlike. |
¶ Not to be confused with
| The GROUND BRANCH skin system is not currently supported in relation to weapons. It may be supported in later versions of the game. |