¶ Overview
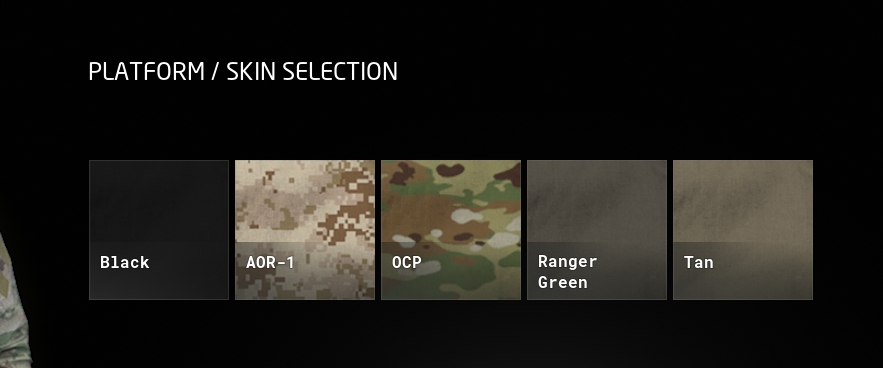
The GROUND BRANCH skin system allows automatic display and selection of different 'skins' for items (including gear, clothing and weapons, and potentially … anything?). You will be familiar with skins from the character customisation screen and potentially also the kit restrictions admin menu:
Figure 1. Skin selection menu for Platform item in character customisation menu
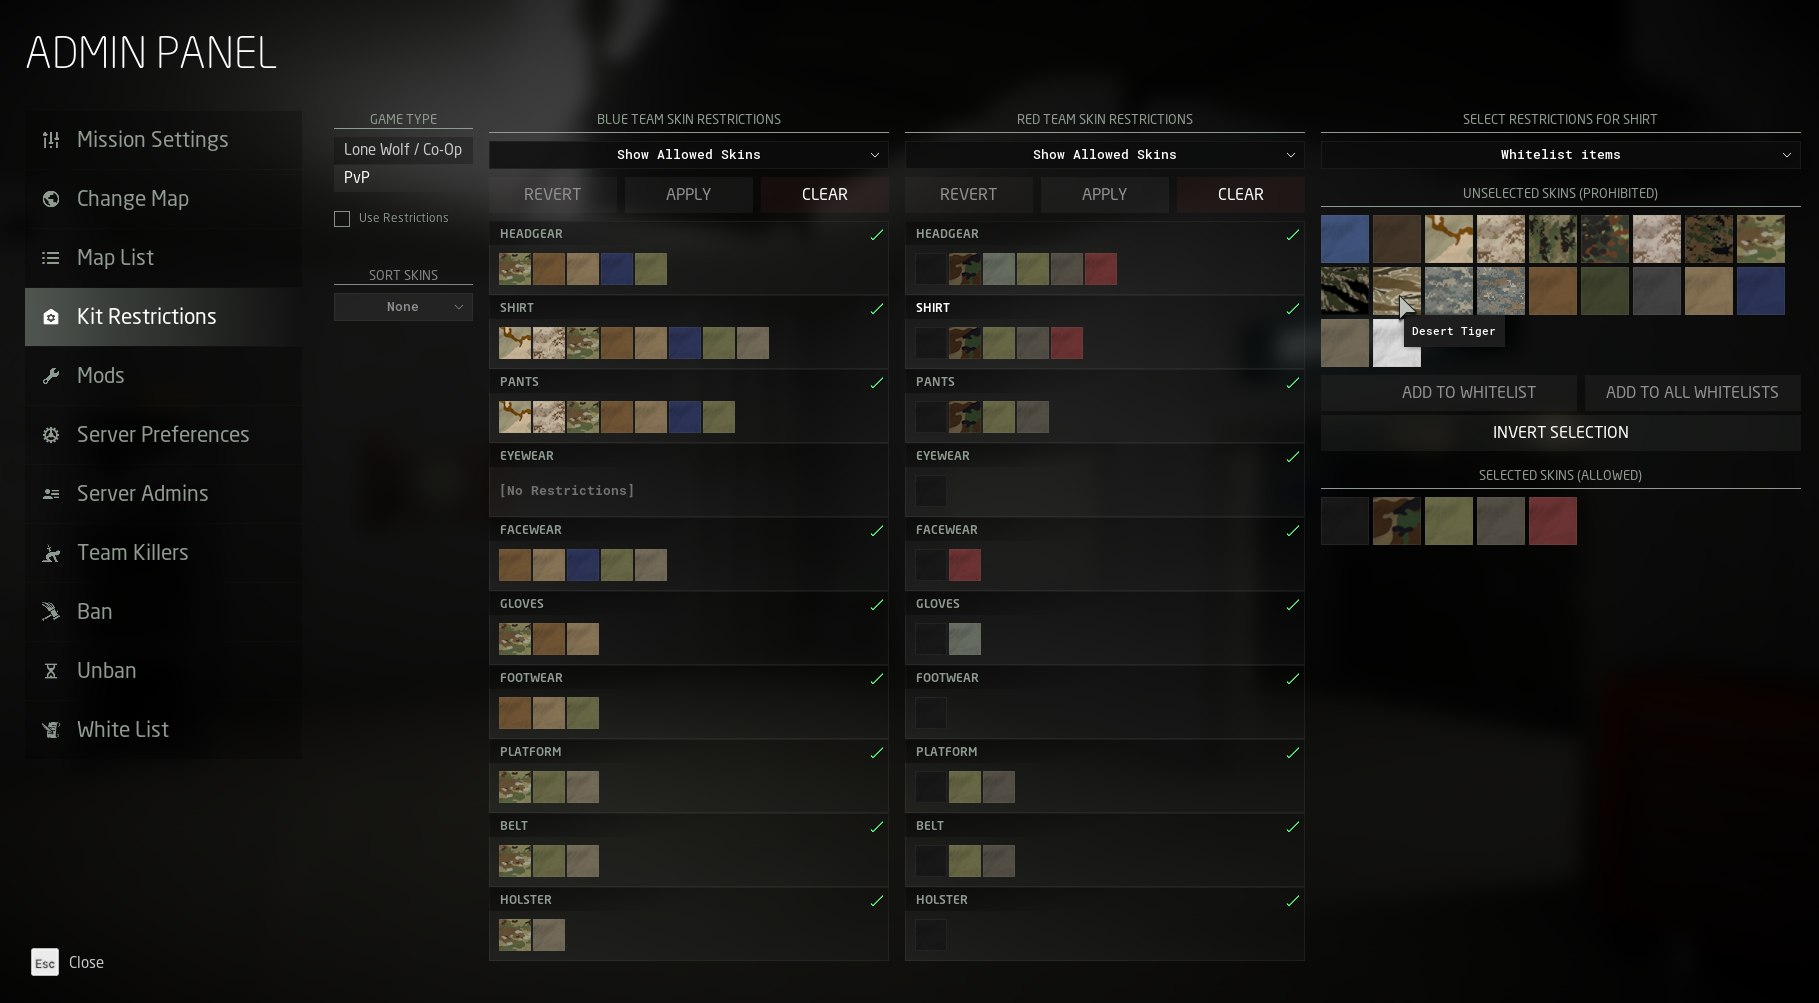
Figure 2. Kit Restrictions admin menu, showing a wide array of skins which can be specifically allowed or prohibited on a server
A 'skin' is a material (in UE4 parlance) which is applied to a 3D model. Many items have only one skin (in which case, a skin selection menu is not usually shown), but many items have a selection of skins which can be used, typically corresponding to a particular plain colour or camouflage pattern. Typically unique materials must be used for different items because of how textures are mapped onto models. So two items which are both 'OCP' skin will typically use two separate OCP materials, using separate sets of textures.
All equippable items (weapons, clothing, gear, and so on) are derived from the GBItem class, which defines a skin prefix. A set of skin types/names are defined globally in skin data asset files. Adding one of those defined skin types for a particular item is relatively straightforward: if a material is added with the name <SkinPrefix>_<SkinName>, it will automatically be offered as a selectable skin for the item in the character customisation menu, and it will automatically be applied to the item if/when specified in the loadout.
Sets of skins are often implemented using a set of material instances of a master material, with different parameters for each skin in each material instance (such as a varying base colour parameter). This is more efficient and easier to maintain than having separate materials for each skin. Thus, you will normally have a skin prefix beginning MI_ (the UE4 naming convention for material instances) for your skins.
|
¶ GBItem Inventory properties
A few key properties of the GBItem class (shown under the 'Inventory' heading) will be described below:
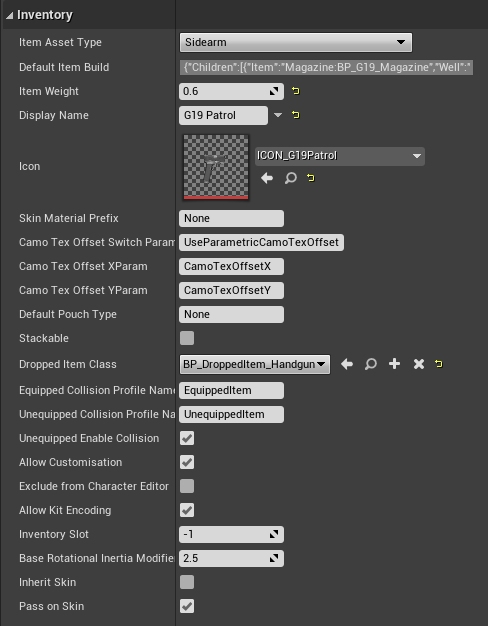
Figure 3. Inventory properties (partial) for a G19 Patrol sidearm
-
Skin Material PrefixBy defaultNone(meaning not to use the skin system, and to use the default material associated with the relevant skeletal mesh), this should be set to the first part of the filename of your skins, such that your skin materials will be named<SkinMaterialPrefix>_<SkinName>.
Typically, a skin prefix will thus be of the form MI_<UniqueItemReference>. For base game items, this might be something like MI_PaddedJacket for a padded jacket, but you will probably want to create more unique names such as MI_ModdernamePaddedJacket to avoid naming conflicts with mods containing similar items.
|
-
Camo Tex Offset Switch Param,Camo Tex Offset XParam,Camo Tex Offset YParamThese are rather specialist parameters which define the name of material parameters that are used to apply different offsets for skins for different objects attached to a parent object. More specifically, these are used on pouch materials to avoid a clone stamp appearance, where camo patterns would otherwise appear at the same position on all the pouches. You don’t need to know how the offsets are computed, other than that they are essentially random and vary in a deterministic way from one pouch to the next.
| If you need to incorporate random offsets into your skins/materials, the simplest thing is to plug in the Camo Tex Offset XParam and YParam (scalar) parameters into your material and add them to the X and Y TextureCoordinate channels respectively, optionally activated by a static switch parameter matching Camo Tex Offset Switch Parameter. |
-
Inherit SkinIf this checkbox is set, the item will try to apply the skin of any parent object. This is used for pouches on platforms/vests, for example, so that skins do not have to be set for individual child items, and consistent skin types are used. -
Pass on SkinIf this checkbox is set, the item will try to apply its skin type to any child objects which haveInherit Skinset. Typically this is used for items like platforms/vests (see above).
¶ List of skin types in GROUND BRANCH
You would normally want to use one of the following skin types (otherwise you will need to make a new skin data asset):
| Display name | Material suffix | Possible substitutes (Material suffixes, in decreasing order of desirability) |
|---|---|---|
AOR-1 |
AOR1 |
MARPAT_Desert, 3color, TigerStripe_Desert, Tan, Khaki, CoyoteBrown |
AOR-2 |
AOR2 |
TigerStripe, M81, Green, OD, FoliageGreen, Tan, OCP, MARPAT_Woodland |
Black |
Black |
Grey, OD, Tan |
Blue |
Blue |
Navy, LightBlue, Black |
Brown |
Brown |
CoyoteBrown, Tan, Khaki, RangerGreen |
Coyote Brown |
CoyoteBrown |
Tan, Khaki, TigerStripe_Desert, AOR1, MARPAT_Desert, 3color |
DCP |
3color |
TigerStripe_Desert, AOR1, MARPAT_Desert, Tan, Khaki, CoyoteBrown |
Desert Tiger |
TigerStripe_Desert |
3color, AOR1, MARPAT_Desert, Tan, Khaki, CoyoteBrown |
Flecktarn |
Flecktarn |
TigerStripe, MARPAT_Woodland, Green, AOR2, OD, Tan, FoliageGreen |
Foliage Green |
FoliageGreen |
RangerGreen, OD, Khaki |
Grey |
Grey |
Black, OD, Tan |
Khaki |
Khaki |
Tan, CoyoteBrown, TigerStripe_Desert, AOR1, MARPAT_Desert, 3color |
Light Blue |
LightBlue |
Blue, Navy, Black |
MARPAT Desert |
MARPAT_Desert |
AOR1, 3color, TigerStripe_Desert, Tan, Khaki, CoyoteBrown |
MARPAT Woodland |
MARPAT_Woodland |
M81, TigerStripe, Green, Tan, FoliageGreen |
M81 |
M81 |
TigerStripe, MARPAT_Woodland, Green, Flecktarn, AOR2, OD, OCP, Tan, FoliageGreen |
Navy |
Navy |
Black |
Normal |
Normal |
- |
OD Green |
Green |
OD, FoliageGreen, M81, AOR2, TigerStripe, MARPAT_Woodland |
Olive Drab |
OD |
Green, FoliageGreen, Tan |
OCP |
OCP |
OD, Tan, Khaki, Green, CoyoteBrown, RangerGreen, FoliageGreen |
Ranger Green |
RangerGreen |
OD, Khaki, Green, Tan |
Red |
Red |
Black |
Tan |
Tan |
Khaki, CoyoteBrown, TigerStripe_Desert, AOR1, MARPAT_Desert, 3color |
Tiger Stripe |
TigerStripe |
M81, MARPAT_Woodland, Green, Flecktarn, AOR2, OD, OCP, Tan, FoliageGreen |
UCP |
UCP |
UCP_D, OCP |
UCP-D |
UCP_D |
UCP, OCP |
White |
White |
Grey, Tan, Khaki, Black |
¶ Skins in loadouts
Skins that you select for items are saved alongside the item data in your loadout, using the Skin field, filled with the selected Material Suffix property, as illustrated by this example loadout fragment from a typical NoTeam.kit:
...
		{
			"Type": "Holster",
			"Item": "Holster:BP_Holster_Handgun",
			"Skin": "OCP"
		},
		{
			"Type": "EyeWear",
			"Item": "EyeWear:BP_Eyeshield_Clear",
			"Skin": "Tan"
		},
		{
			"Type": "FaceWear",
			"Item": "FaceWear:BP_Mask_Shemagh_Neck",
			"Skin": "Tan"
		},
		{
			"Type": "Shirt",
			"Item": "Shirt:BP_Shirt_Tactical",
			"Skin": "OCP"
		},
		{
			"Type": "Pants",
			"Item": "Pants:BP_Pants_Combat",
			"Skin": "OCP"
		},
		{
			"Type": "Gloves",
			"Item": "Gloves:BP_Gloves_Assault",
			"Skin": "Khaki"
		},
		{
			"Type": "Footwear",
			"Item": "Footwear:BP_Footwear_HikingShoes",
			"Skin": "Tan"
		}
...
You will see your new skin appear here once you save your amended loadout.
¶ Skin setup using data assets
To create a new skin, you will need two data assets and the material you wish to use:
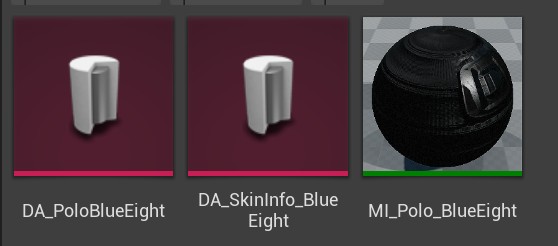
Figure 4. Preview of skin data assets and material
The types of assets are:
-
GBInvItemSkin -
GBInvItemSkinInfo -
Material Instance
I would advise creating your material instance first, so it’s ready to be used with the data assets.
This is how you setup GBInvItemSkin:
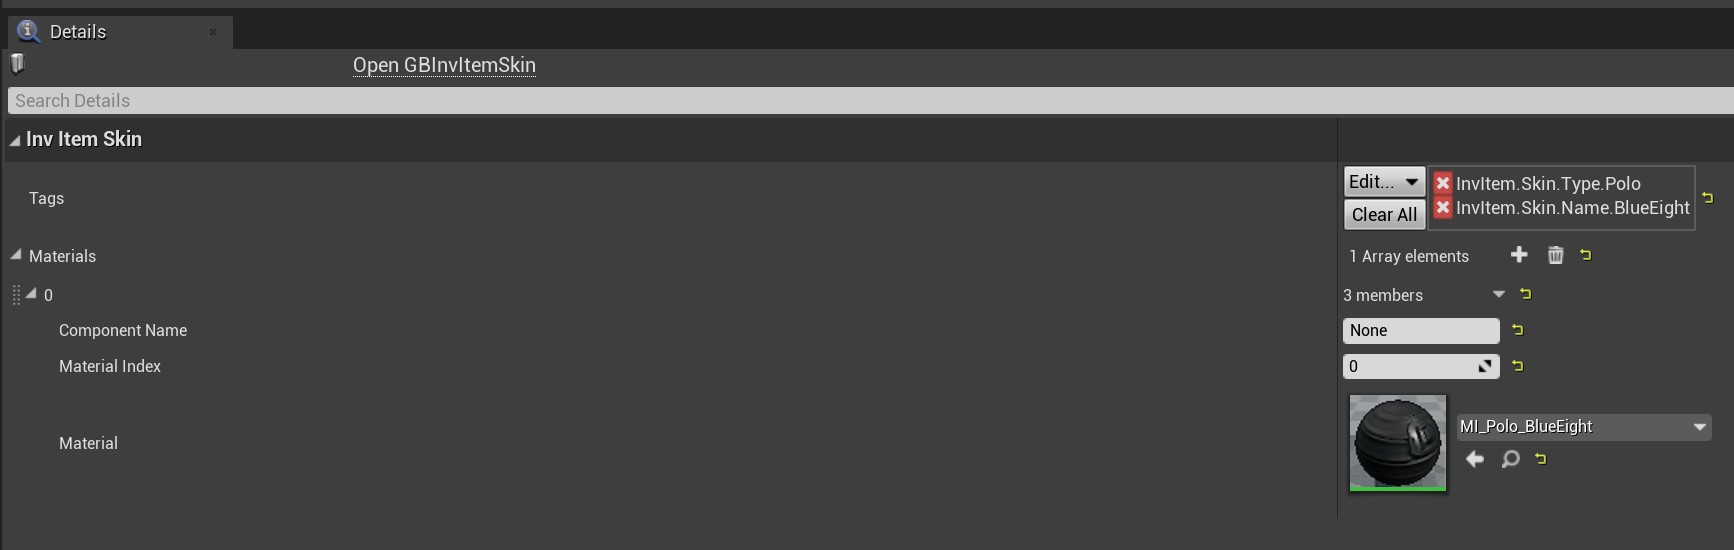
Figure 5. Preview of GBInvItemSkin data asset
In the tags section, add the type of item you want the skin to be applied to. In this instance it’s being applied to a Polo.
The second tag, will be the skin you’re creating - this tag won’t exist yet. Because of this you need to add a tag source in the tags section (Edit→AddNewTagSource).
Once here, select the config folder to be the one corresponding to your mod. In this example Mods/BlueEight/Config/Tags. Then name the tag source, i.e. BlueEight.ini and then click Add New Source:
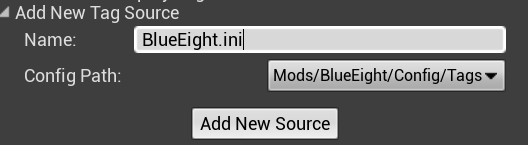
Figure 6. Setup of tag source
A new tag can then be added to the source (Edit→Add New Gameplay Tag):
Set the name, source and then click Add New Tag.
-
Make sure the name follows the format:
InvItem.Skin.Name.(insert skin name)
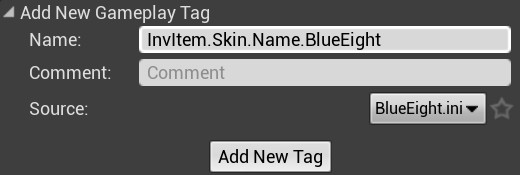
Figure 7. Setup of new gameplay tag
Then, add your material instance to the array of materials.
This is how you setup GBInvItemSkinInfo:
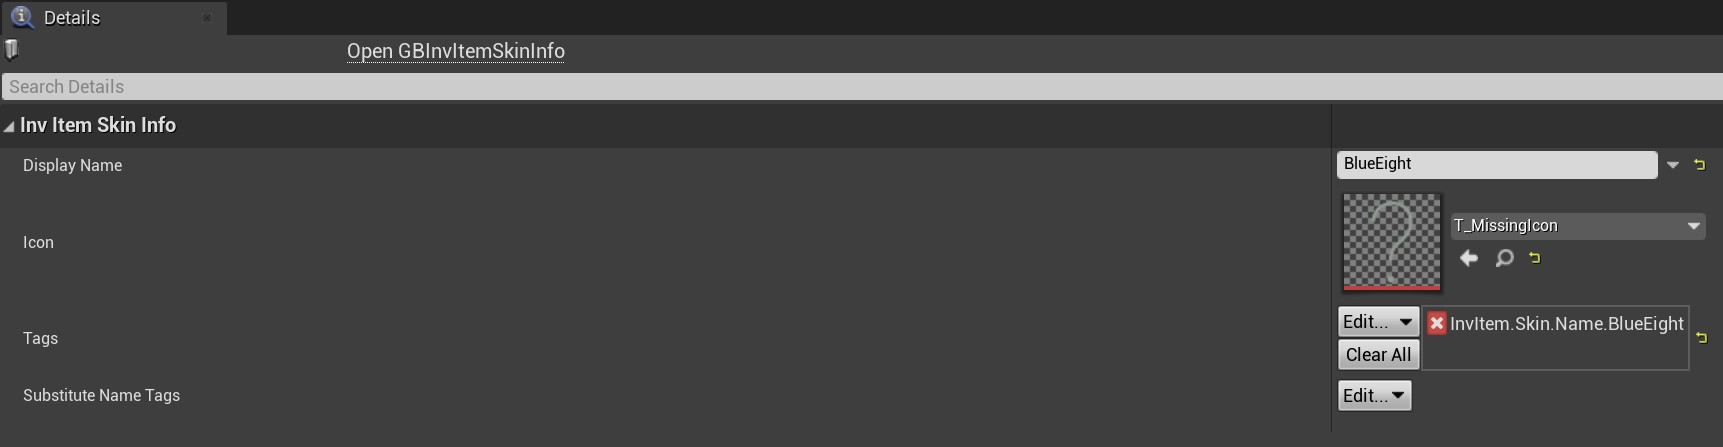
Figure 8. Setup of GBInvItemSkinInfo
The UI uses this data asset. Choose the display name and icon you want to be seen in the UI. The main thing is to add the name skin tag that was just created in the tags section.
If all has gone well, you should see your new skin in the customization menu:
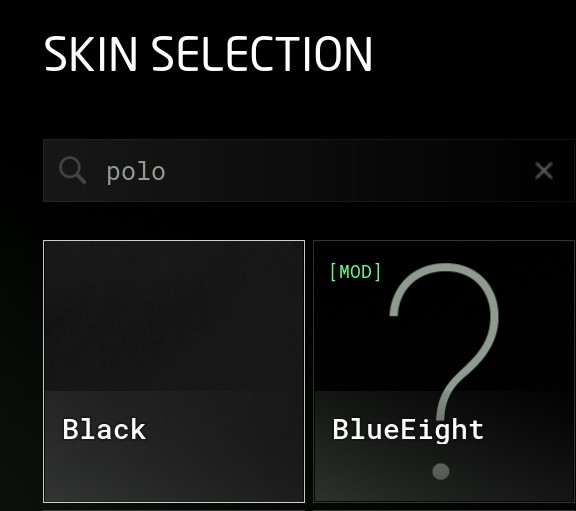
Figure 9. Preview of new skin in UI
¶ Skin System Example (Jeans)
A basic default kit is provided in the Mod Kit, including a pair of hard-wearing jeans. These jeans can also be equipped in the game itself, with a selection of three different skins to choose from (black, blue and light blue):
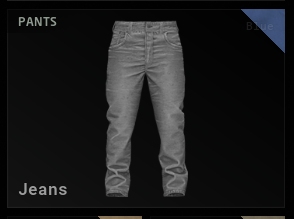
Figure 10. Jeans shown in the Pants item list, with current selected skin shown at top right.
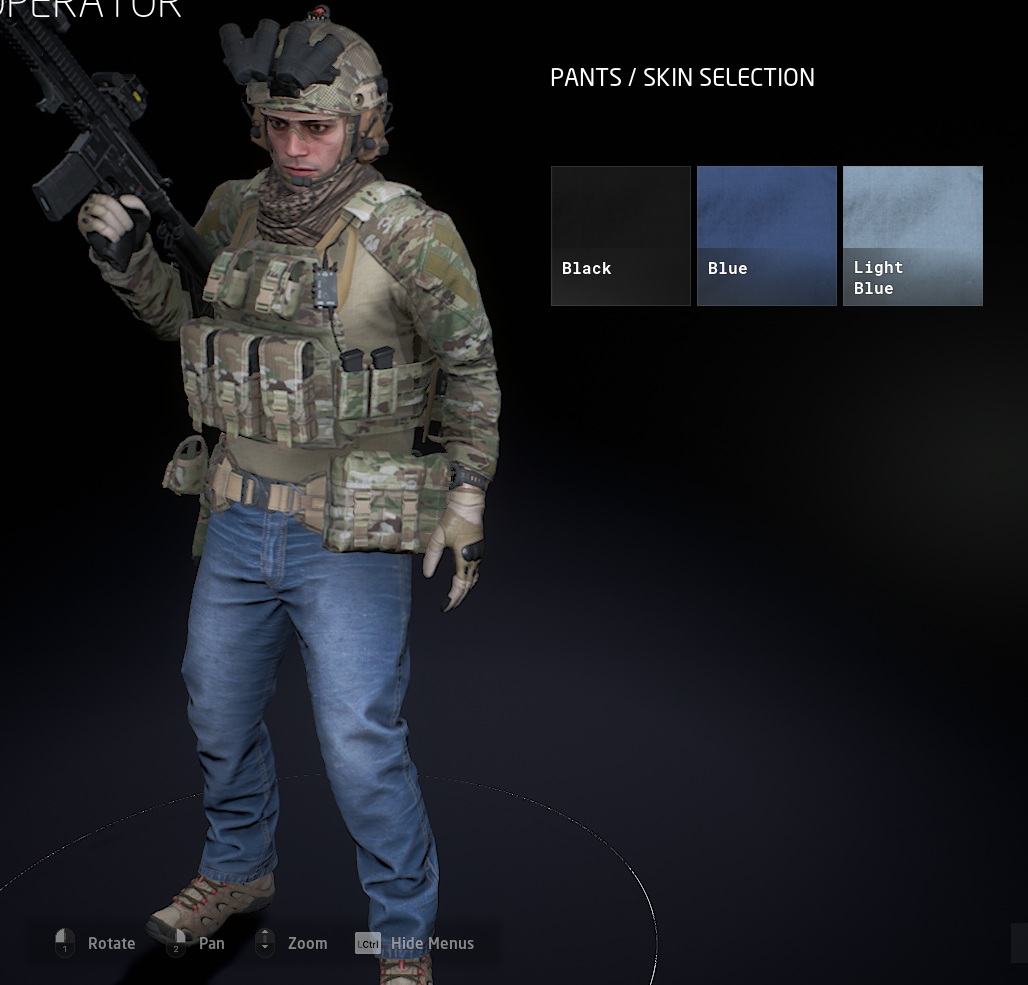
Figure 11. Your heroic operator kitted out in standard Blue jeans
Let us take a look at the Inventory properties of the Jeans item:
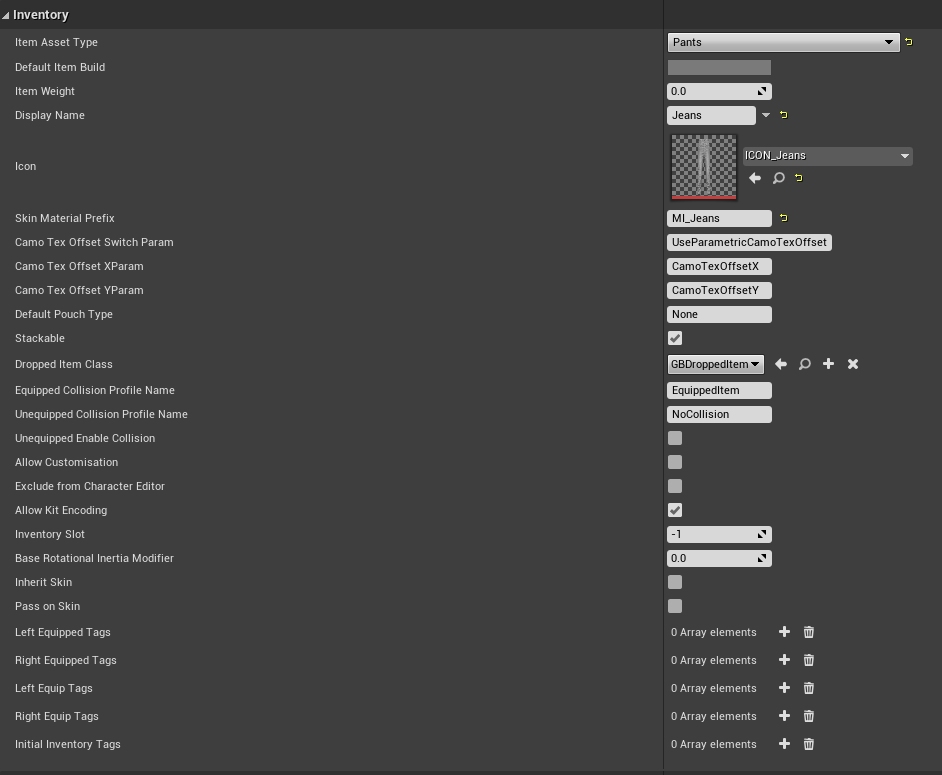
Figure 12. Inventory properties of the Jeans clothing item in GROUND BRANCH
Here we see that a Skin Material Prefix of MI_Jeans is used. Also Inherit Skin and Pass on Skin are unchecked, because this is a relatively simple item without any parent or child attachments.
You will now find the MI_Jeans_Blue material in GBCore in the mod kit. There are two more skins in the base game (not part of the mod kit), as shown here:
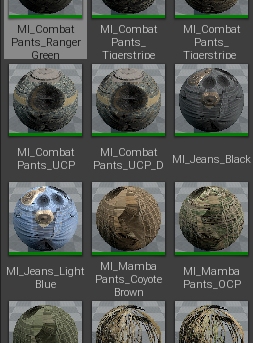
Figure 13. Editor folder including two skins for the Jeans item (MI_Jeans_Black and MI_Jeans_LightBlue)
You can see the blue and black skin material previews here:
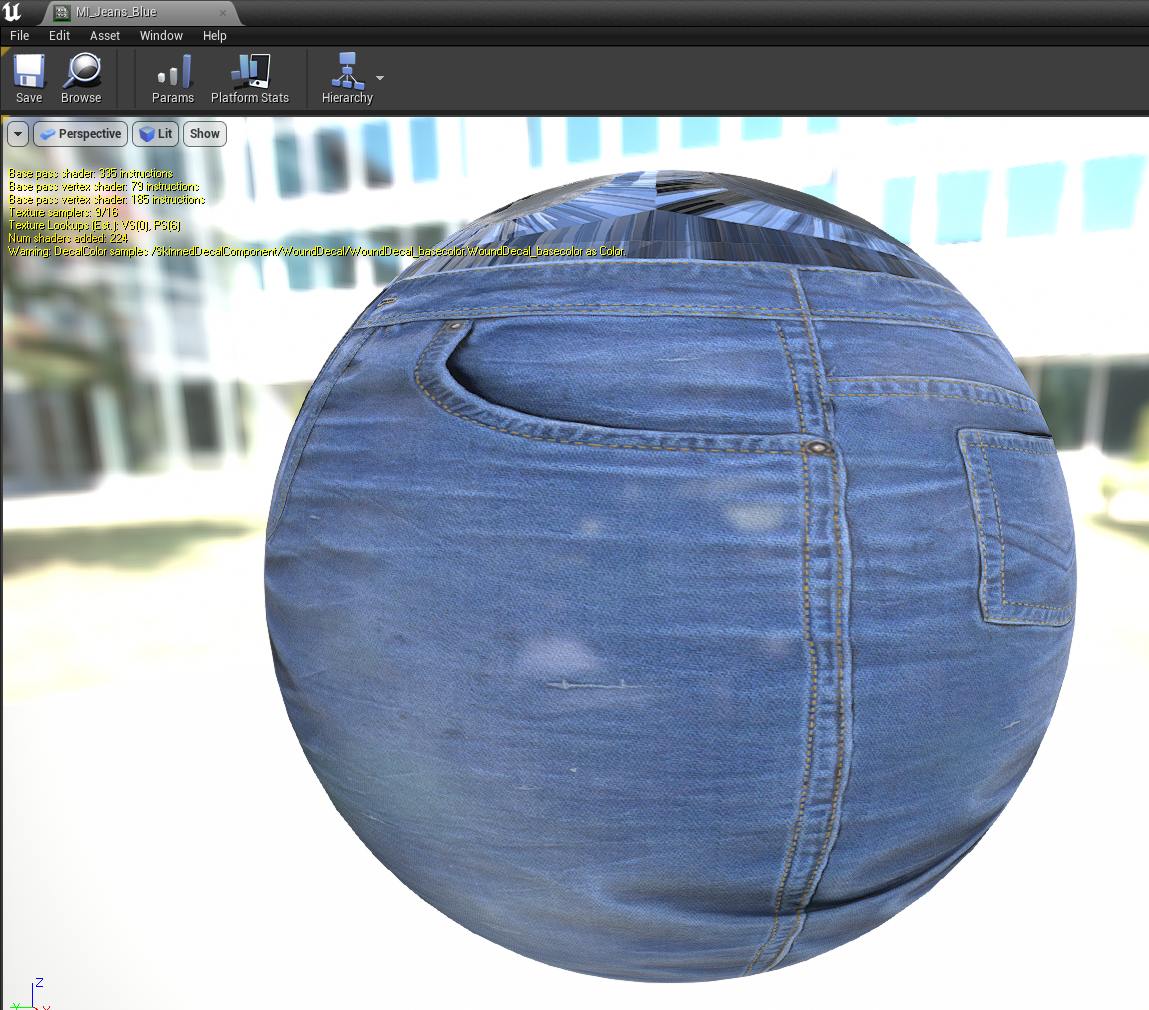
Figure 14. Blue Jeans skin
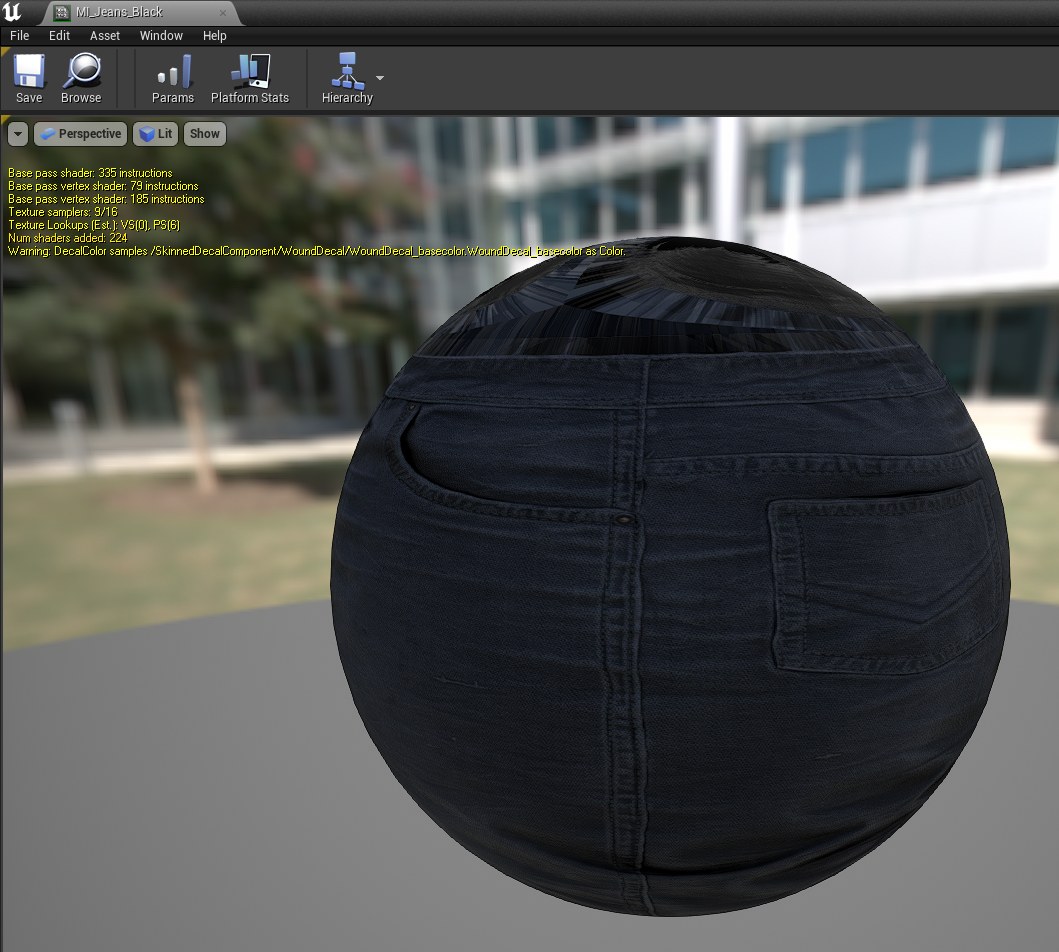
Figure 15. Black Jeans skin
Currently the skins system is used for gear and clothing, but there should be nothing stopping you using it for other kinds of items if you want to get adventurous.