
Game items in GROUND BRANCH include inventory items (such as weapons, gear and clothing), and other items such as spawned objects (projectiles) and game props (including variations of game mode props such as bombs, laptops, and so on).
Typically these are derived from various master blueprints, as detailed here: Mod Kit content types.
To create a new item, go to your plugin folder and create a child blueprint. You can do this (amongst other ways) by right-clicking on the folder, and then selecting Create Basic Asset→Blueprint Class:

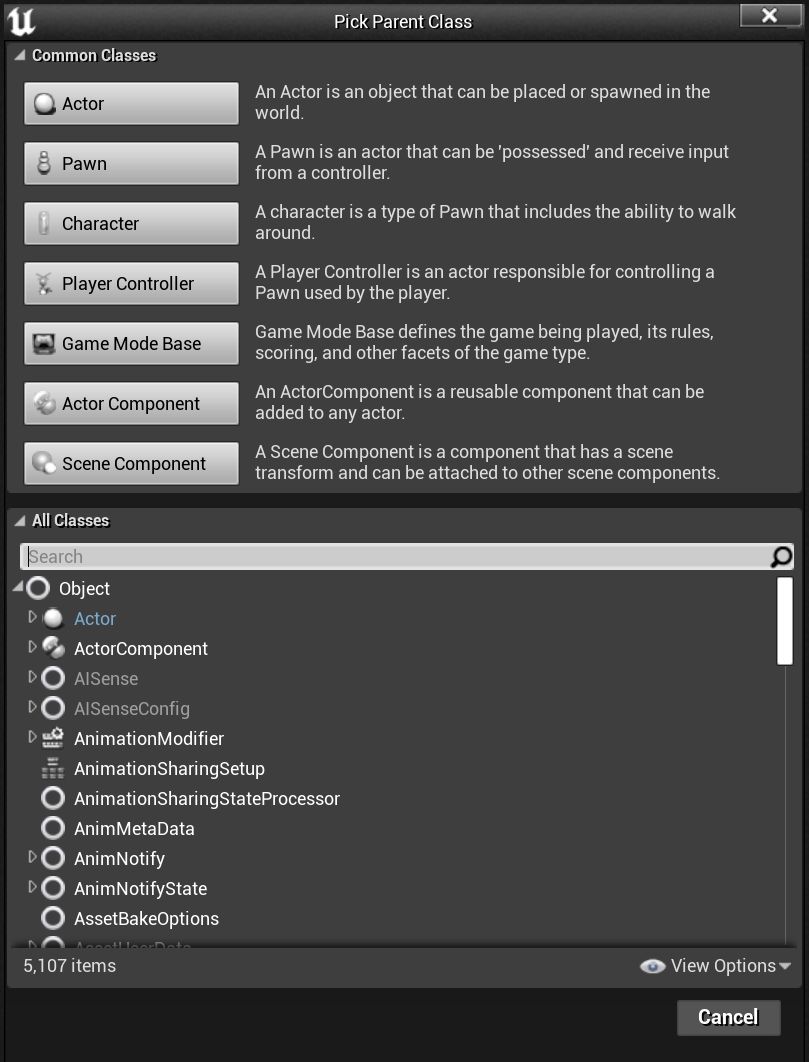
You will then be presented with the ‘pick parent class’ dialog. Ignore the buttons at the top, and open up the lower class tree:
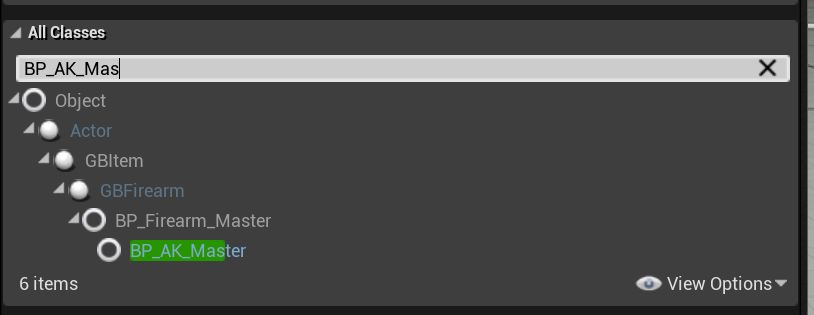
The easiest way to find the master blueprint you want is to start typing the name of it, in this case trying to find the BP_AK_Master blueprint so as to create a new AK variant rifle:
Once you have clicked on the desired master blueprint, click Select, and the blueprint will then be created in the folder. Type in an appropriate name for the blueprint, such as BP_MyAKDerivative. This is only an internal name, and you will be choosing a display name within the blueprint itself:
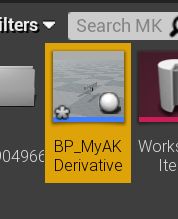
You MUST choose a unique name for your blueprint that is not used by any other asset of the same type (PrimaryFirearm, Sidearm, etc.). Consider putting your name in the title, or have some other unique naming convention that is unlikely to overlap with either stock in-game weapons, or the same weapon made by another modder (yes, it happens). So BP_Fatmarrow_Mk23, for example, instead of plain BP_Mk23 (which would, in fact, clash with one of our example mods).
|
You can then double-click the new blueprint to open up the standard UE4 blueprint editing screen:
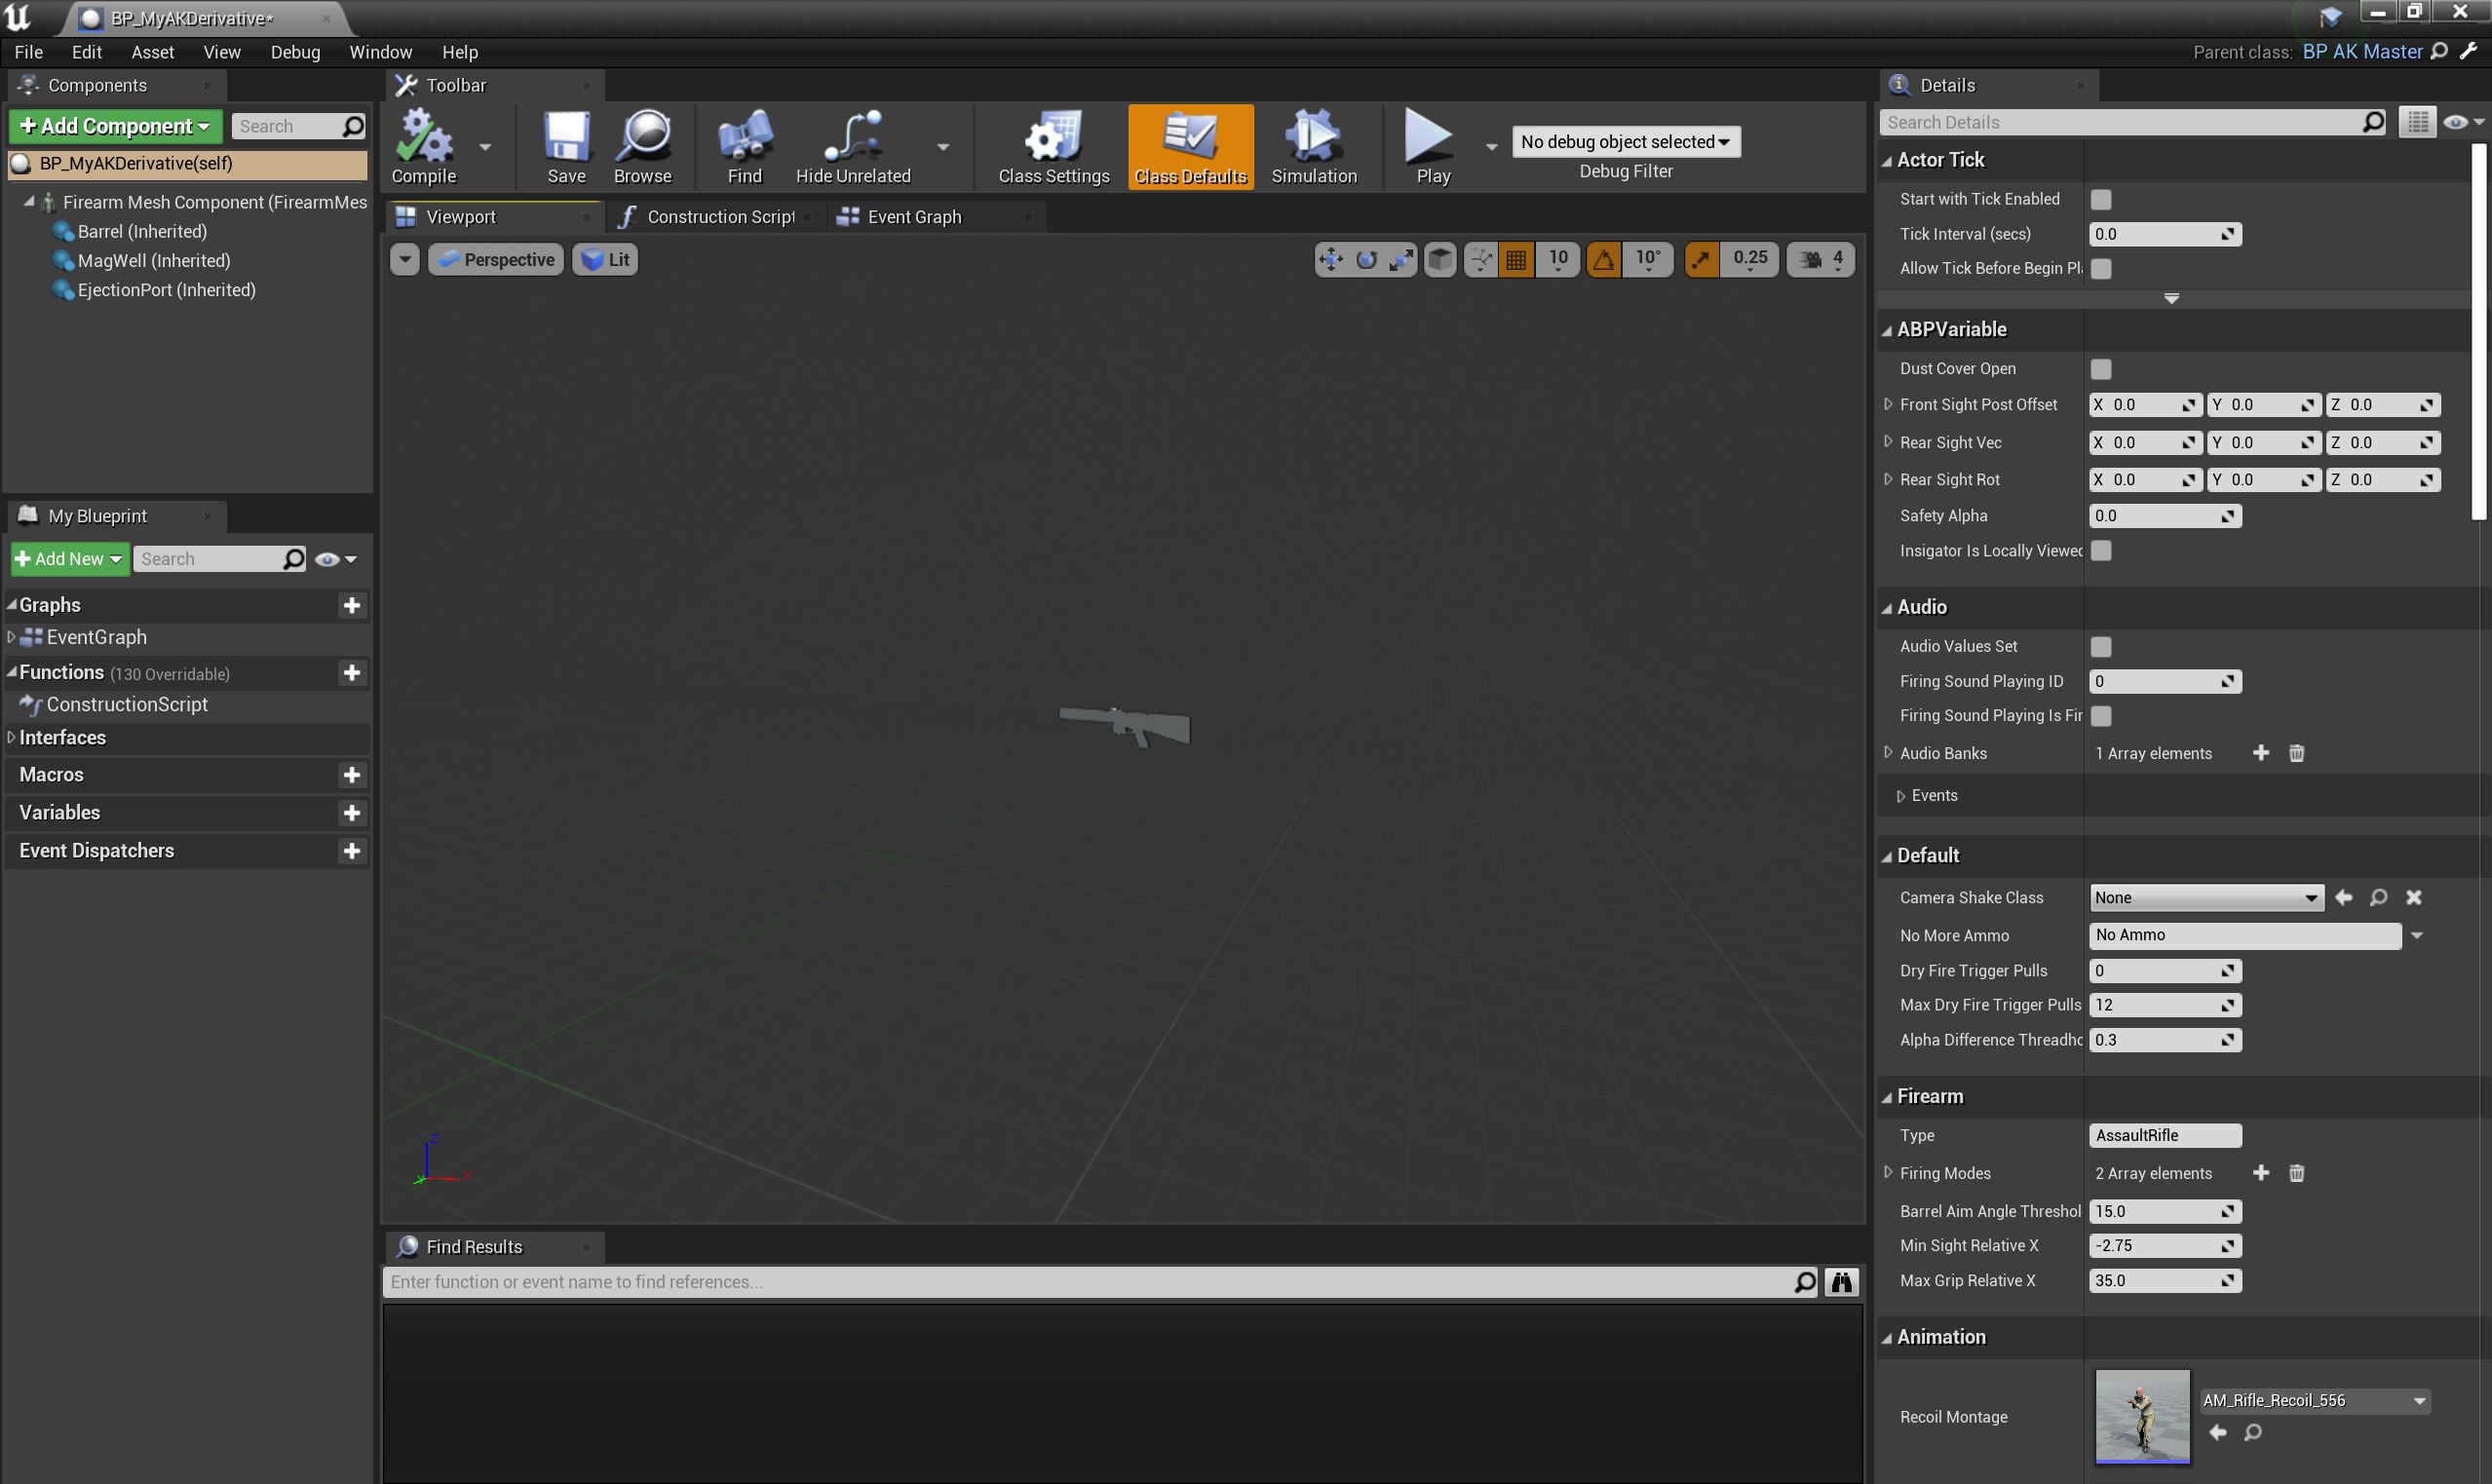
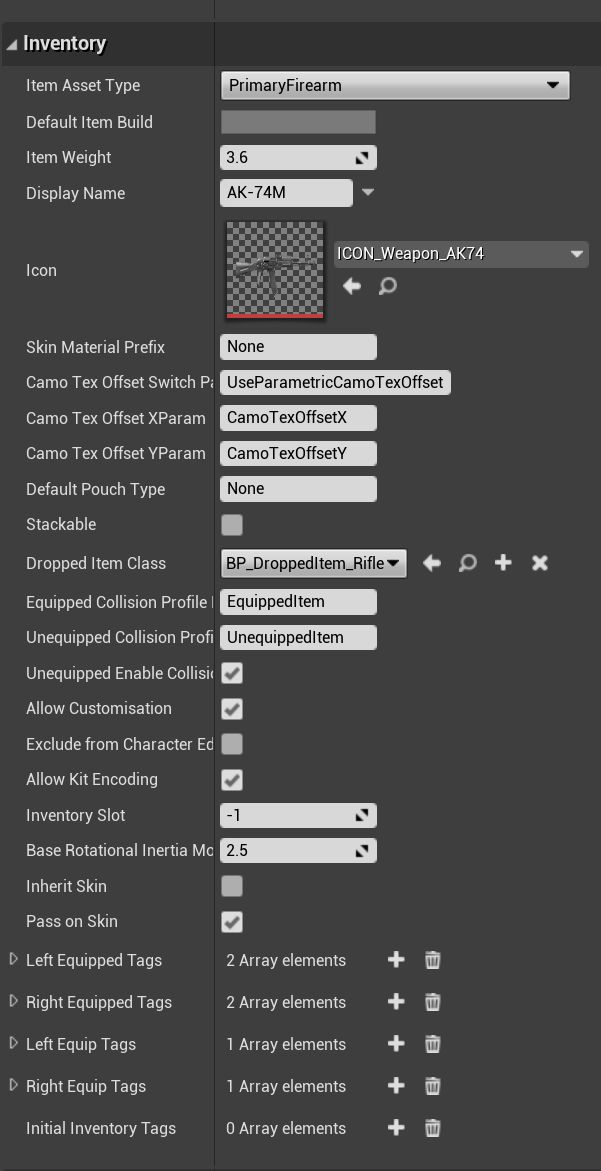
You will see that a lot of information is already filled in. You can leave almost all of this alone for most purposes. A lot of the information is specific to the overarching GBItem class, which is used for nearly every object that a player can wear or interact with.
| Any fields in your blueprint which differ from the master blueprint settings will have a yellow circular arrow next to them, which will revert to the default setting when clicked. |
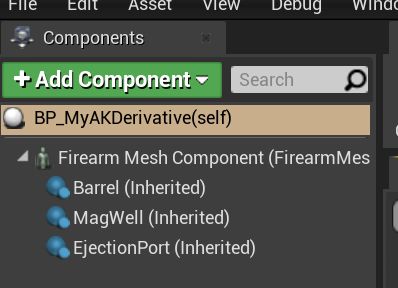
Bear in mind that some important properties of a master blueprint may be hidden with components of the blueprint. Components of different predefined types can be added to blueprints like building blocks. Master blueprints will include some components, which you can edit (but not delete), and you can add further components as you see fit.
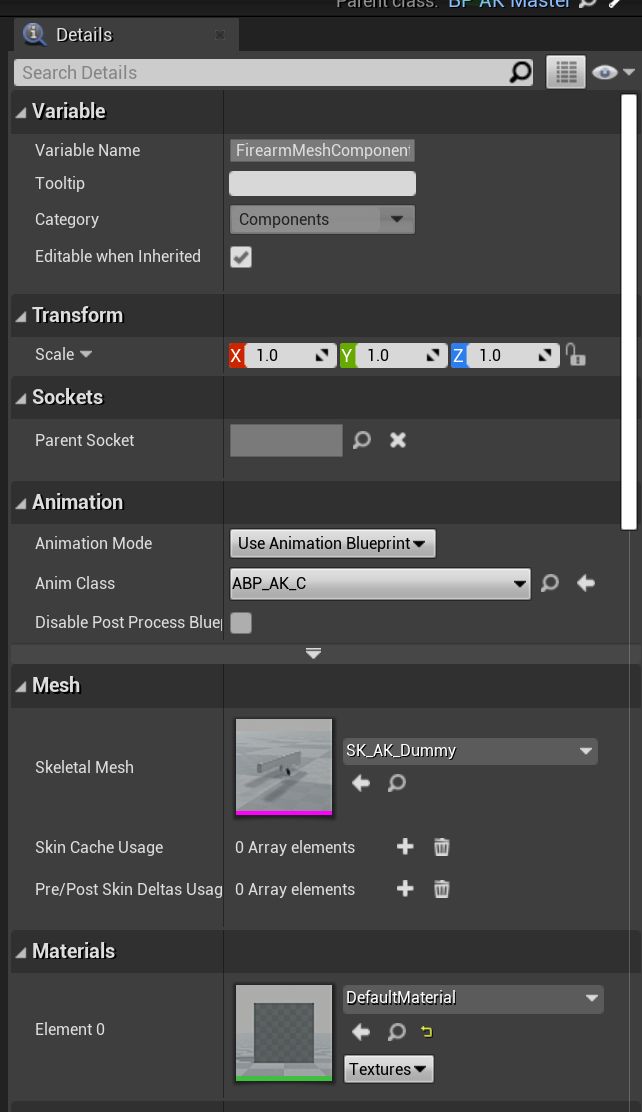
If you click on a component in the top left part of a blueprint viewer, you will get a new set of properties to view on the right hand side. In some cases the global properties of a blueprint will mirror at least part of the settings of individual components (largely for convenience):
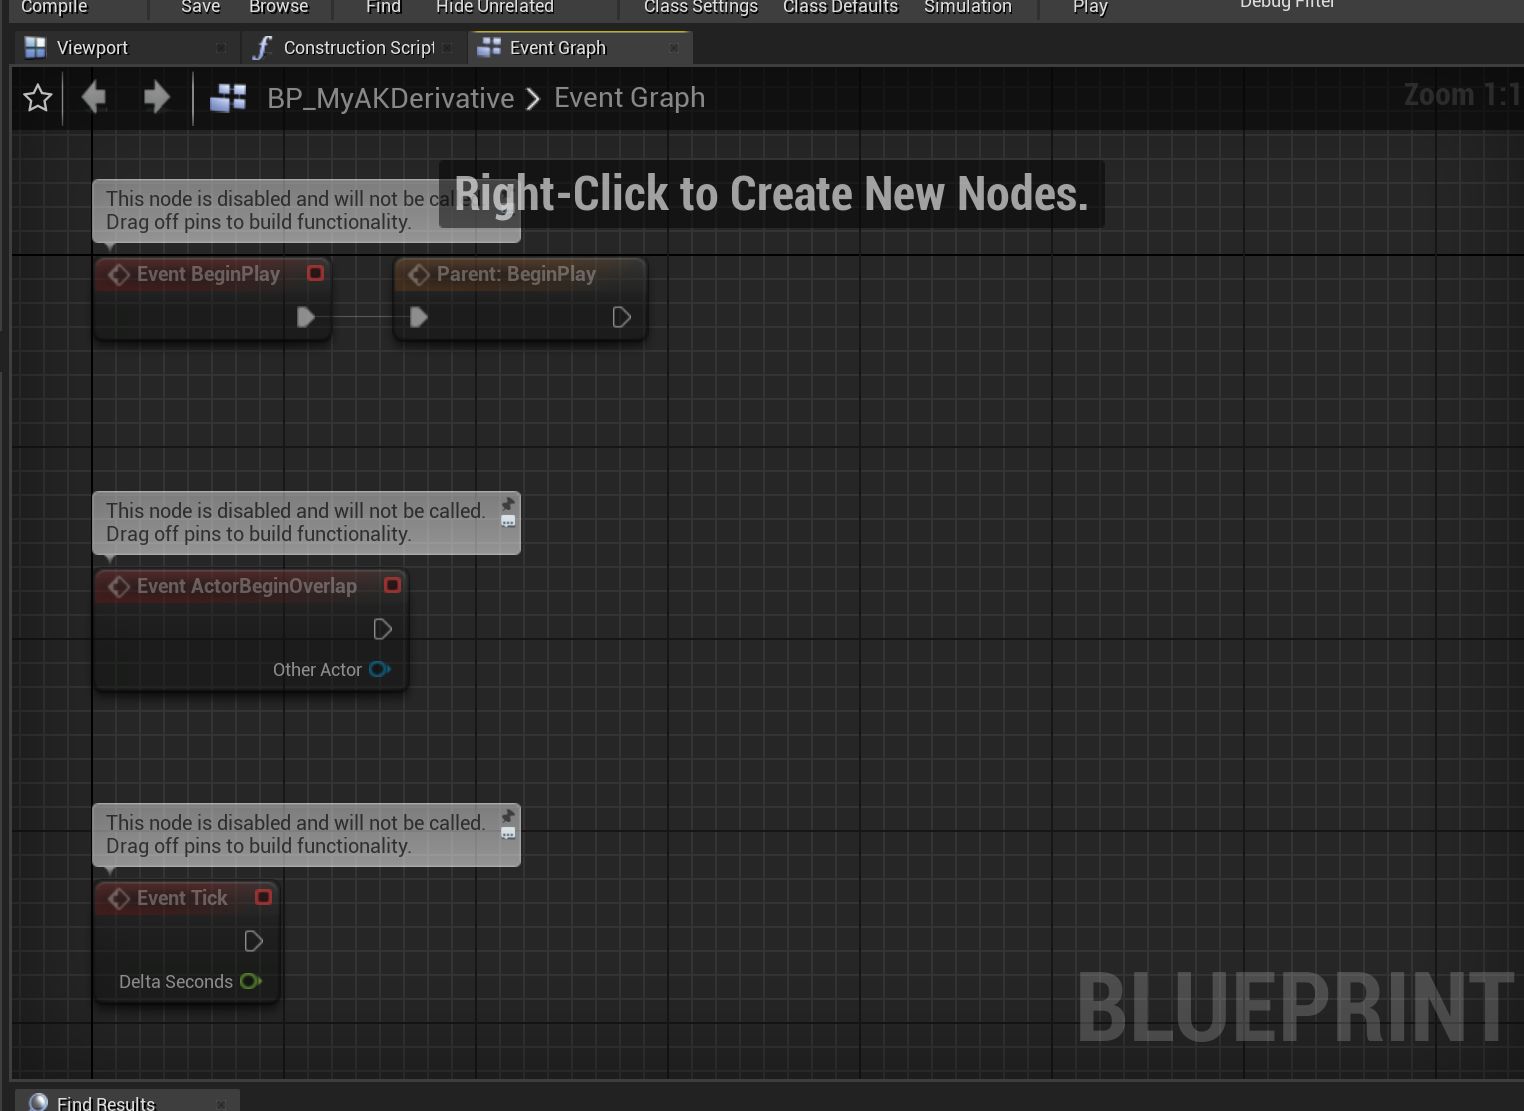
Each blueprint also has a construction script and an event graph, which is where you can implement different events called by the underlying c++ class or by other parts of the game, and implement (or re-implement) interfaces for various things. Please refer to standard Unreal Engine documentation for more details on how these parts of a blueprint work. Specific events, interfaces and other master blueprint-specific elements will be described elsewhere in more detail.
| If you need to make icons for your new item, once it is completed, see here: creating item icons. |
All that remains (!) once you have set up your new blueprint is to create or import the necessary new assets and to then follow the standard steps to package and upload your mod.
| You will probably want to do some testing before setting your mod public! |