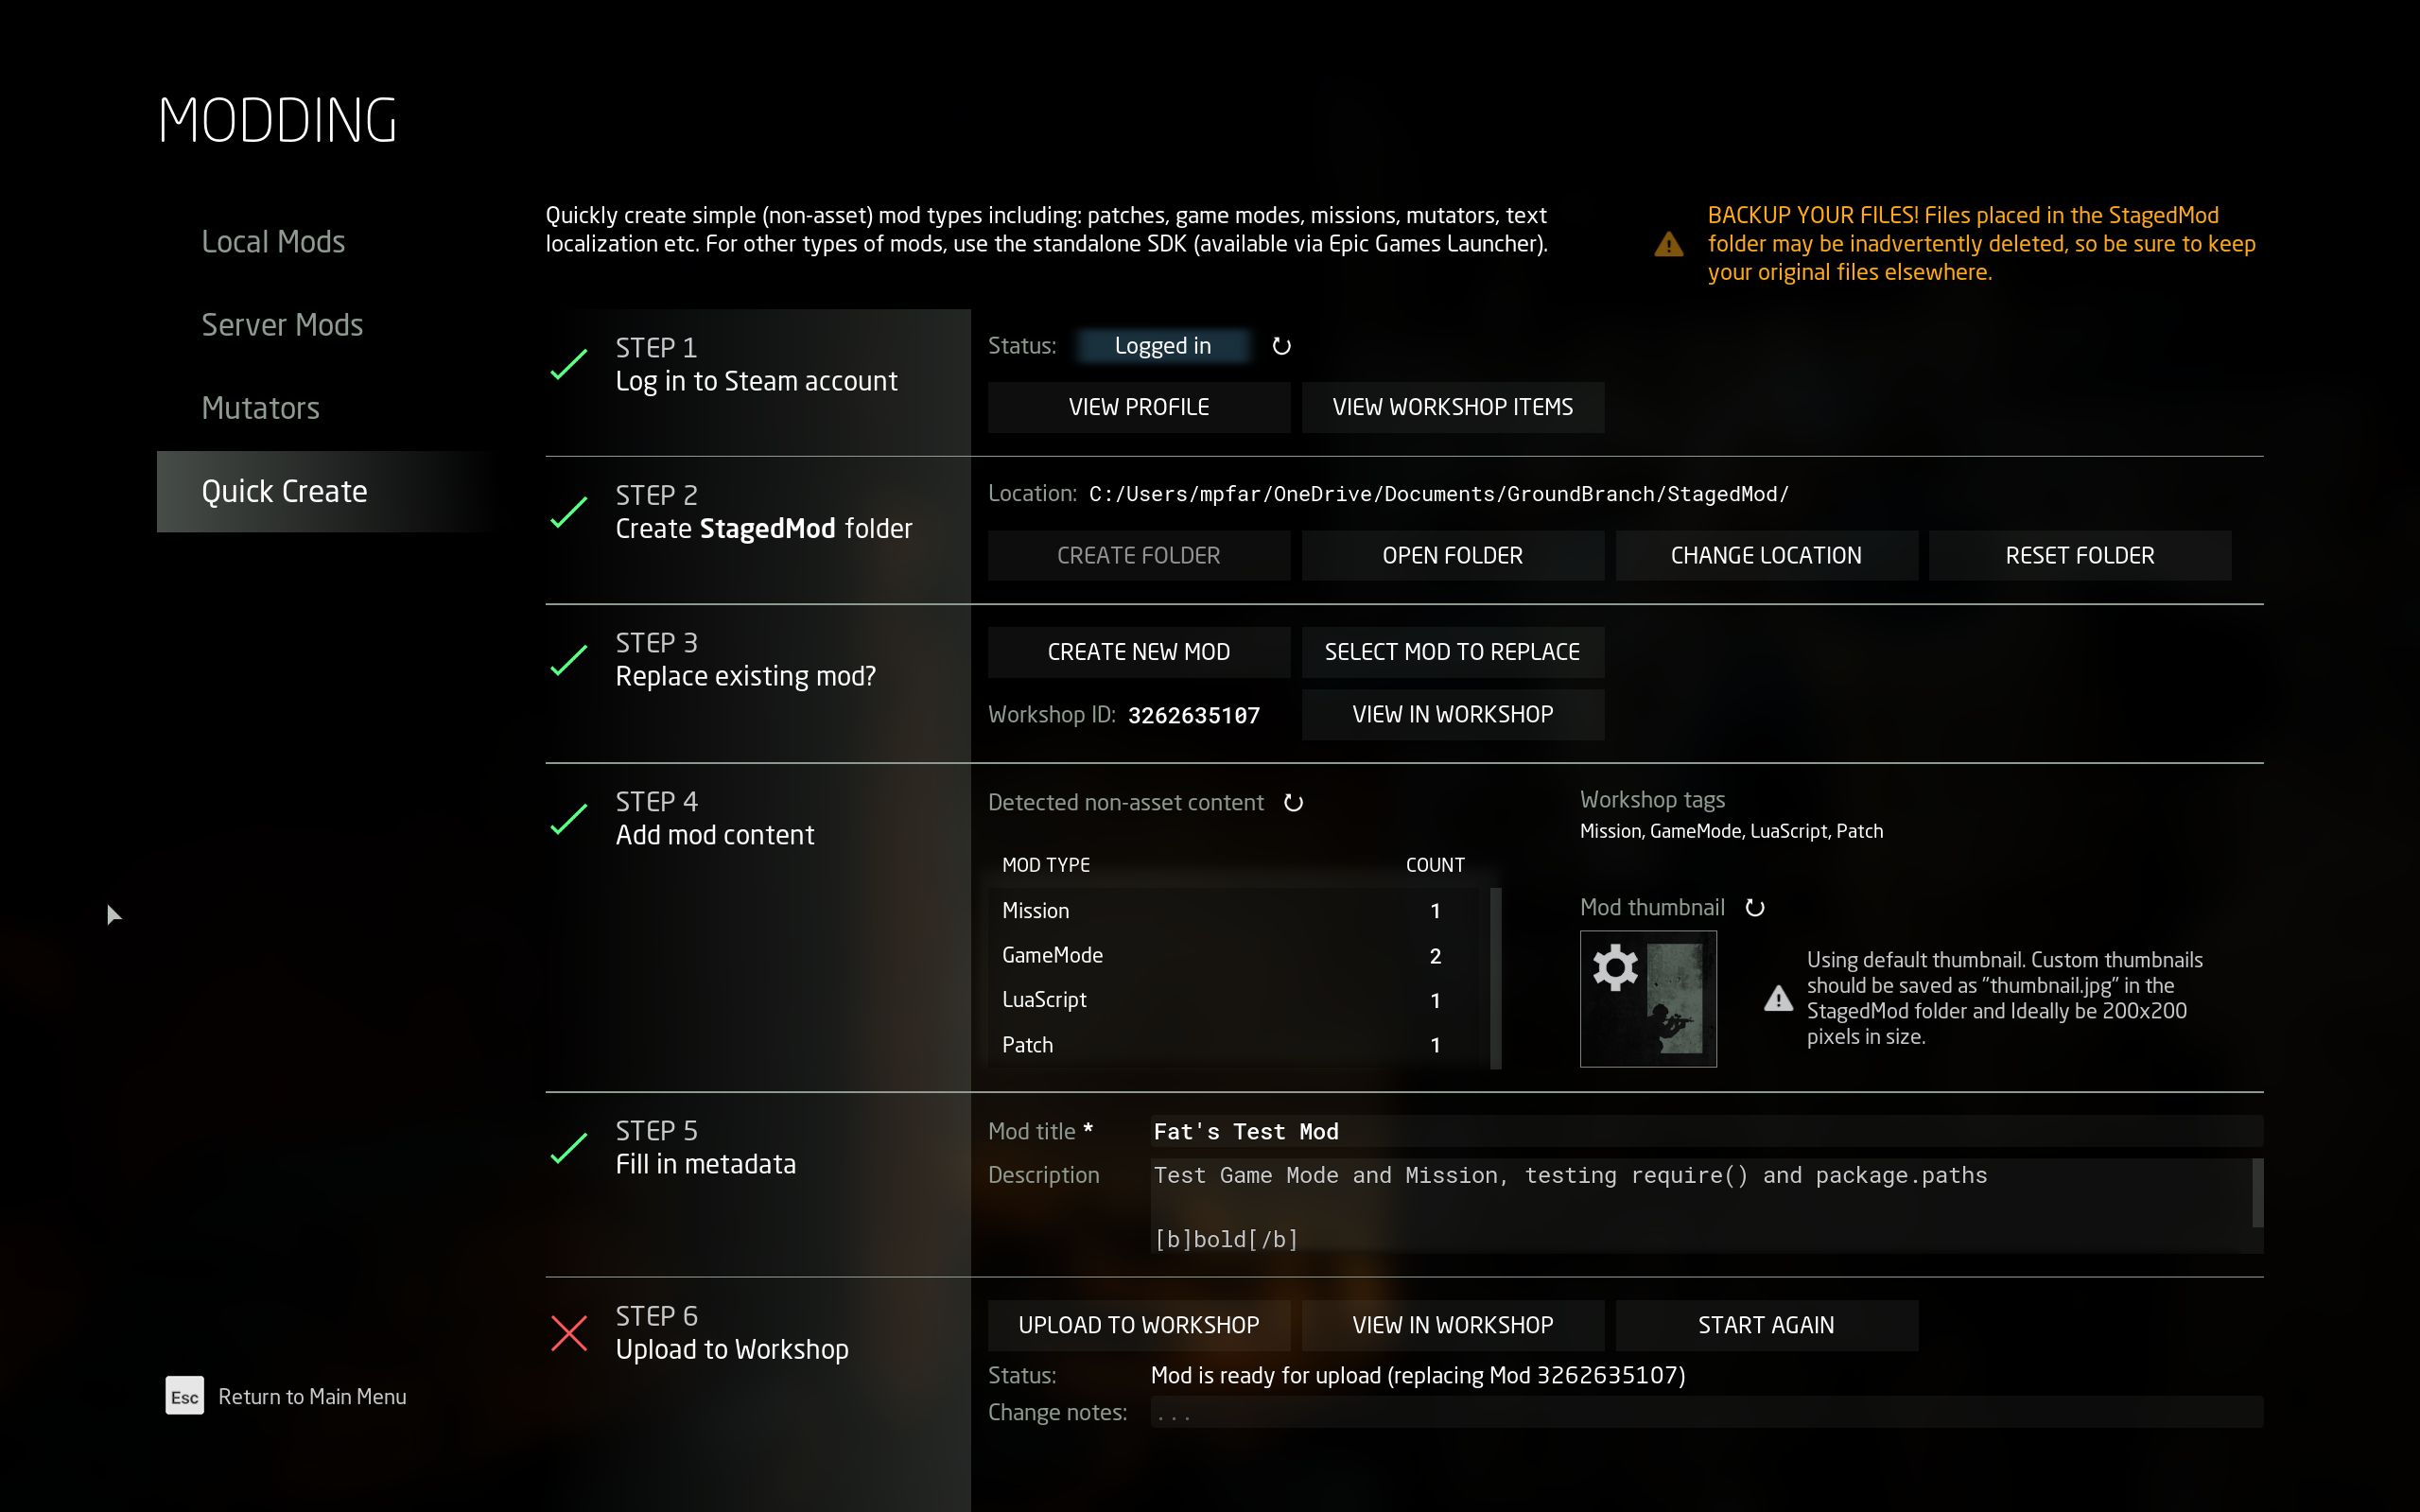
The Quick Create menu allows the creation of non-asset based mods from within the GROUND BRANCH game. It is accessed via the Modding element of the main menu:
| See Modding for an overview of “non-asset based mods” and “asset based mods”). |

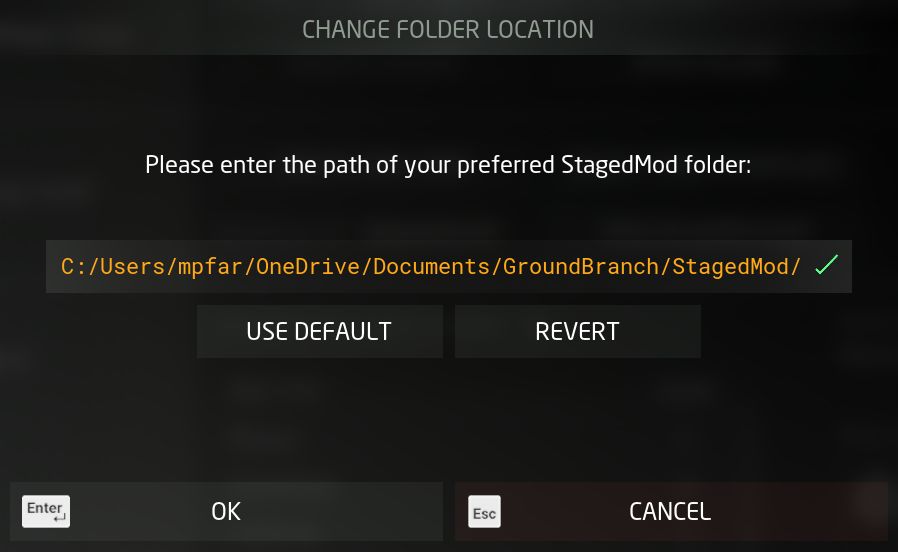
To create a non-asset based mod (hereafter a “Quick Create mod”), simply follow the steps in sequence. It is recommended to use the default Staged Mod location, unless this is not functioning (it seems that user names including non-standard unicode characters will break the Steam uploader, for example).

When you create a Staged Mod folder, it will (for your convenience) also auto-create the subfolders where non-asset files may be located. It is fine to delete these or leave these empty as you wish:

It is then up to you to create and/or place all desired non-asset files (such as game mode scripts, mission files, localisation files, patch files, AI kit files, and so on) in thet appropriate places in the Staged Mod folder.
You can test your new mod in-game at any point. It will be shown as Mod ID #0.
When you are satisfied with the performance of your new mod in-game, you can create it and upload it to the workshop using the final stage of the Quick Create screen.
If, after having created the mod, you want to make changes to it and reupload, you can use the Replace Existing Mod buttons to find your new mod in your workshop list, and then upload to workshop as before. Whatever is currently in the Staged Mod folder will then overwrite the existing mod, so you must take care to ensure the Staged Mod folder is in an appropriate state.
You can make further changes, such as editing the title and description, and you can add screenshots and other data directly, using the Steam Workshop web page.
You will need to change the visibility on your newly-created mod to Public or Unlisted if you want to share it with others or use it on a server.